
Tiny Introduction to Fiducial Markers
A hands-on, from-scratch introduction to fiducial marker detection and pose estimation
Overview
A self-contained workshop that introduces fiducial markers from scratch, for anyone starting out in computer vision or augmented reality. It walks through Aruco marker detection, homography computation, pose estimation, and rendering a live 3D object that tracks a marker in real time.
It's built as hands-on C++ exercises rather than slides alone: two progressively more complete applications, a printable marker set, and a full written report and slide deck to follow along with.
What's Inside
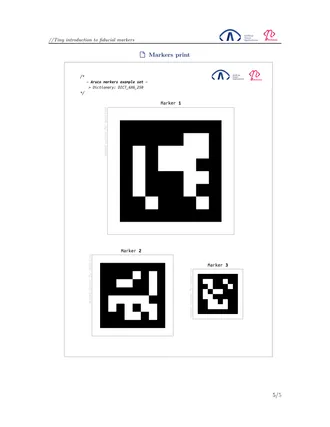
- printMarkers: generates the printable Aruco marker set used throughout the workshop.
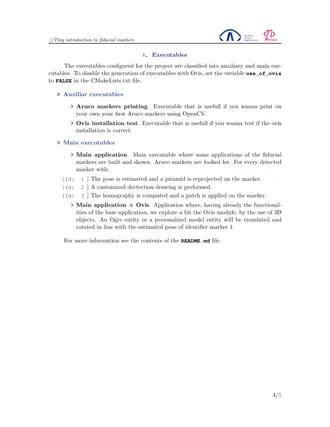
- mainApp: marker detection, pose estimation, and homography-based patch application.
- mainAppOvis: extends the pipeline with a live 3D object, rendered via OGRE/Ovis, that moves and rotates with the tracked marker.
- Report & Slides: a full written report and presentation deck covering the theory behind each step.
Report
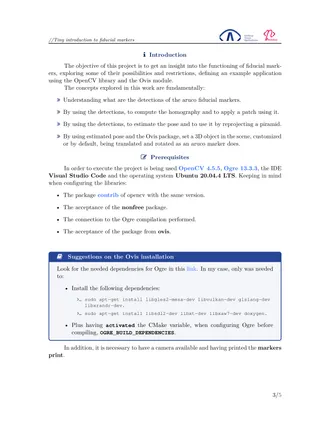
Alongside the two C++ applications, the workshop includes a full written report that walks through the theory behind each exercise in the same order the code is built: how Aruco markers are detected and decoded, how a homography is computed from marker corners, how that homography leads to a full 6DoF pose estimate, and how the resulting pose drives a live 3D render.
It's written to be read alongside mainApp and mainAppOvis rather than as a stand-alone document, every section maps to a concrete step in the code, and is paired with a slide deck covering the same material for anyone presenting or teaching from the workshop. The pages themselves are shown up top.
Download
The full workshop (code, printable markers, report, and slides) is available on GitHub.
View on GitHub C++
C++ OpenCV
 CMake
CMake OGRE / Ovis
License
The repository's README notes an MIT License; a separate LICENSE file is not yet published in the repo.